All Categories
Featured
Table of Contents
How Outdoor Electric Heaters can Save You Time, Stress, and Money.
A handful of exterior heating systems are fitted with incorporated home heating controls, such as a warmth dimmer button or a dial to switch in between warmth setups. In spite of their name, these heating units are commonly designed entirely for use in interior or protected areas.

Appreciate balmy exterior enjoyable all year long from a crisp fall evening to the chilliest of wintertime nights. Regardless of how huge or little your outdoor entertaining area we have actually got the optimal exterior area heating unit to maintain your visitors toasty warm as well as keep the celebration going much longer.
For wall surface installing, the lowest part of the heating system should be found at or over a minimal height of 1. 8m from ground level, so that the heater can not be touched when in procedure. Always place horizontally and do not position the heater at an angle of greater than 90 as well as less than 45 The heater ought to always have a minimum clearance of 0.
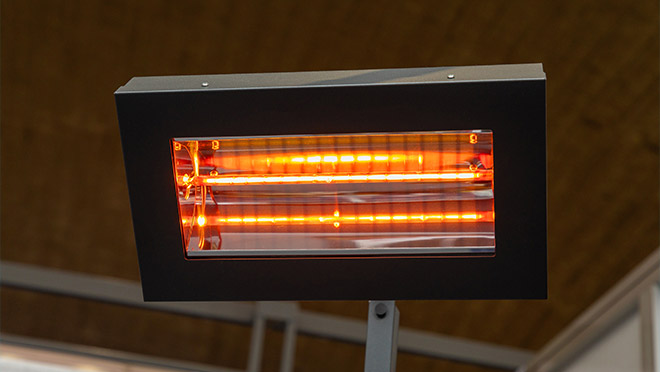
Sunburst Mini Outdoor Electric Infrared Radiant Strip Heater ... Fundamentals Explained

The heating system should be mounted on the installing braces supplied. Fasten the heater firmly on the braces utilizing the nuts and bolts provided. The brackets can be utilized to change the instructions of the heating system. Change the heating system angle by loosening up both screws on the wall surface placing bracket. Tighten up the screws once again when the desired angle is gotten to.
Table of Contents
Latest Posts
Best You Can Still Enjoy A Bbq On A Small Balcony With These ... Prices Near Me in 2023
The Of Dining Room Tables And Chairs For Sale In Australia
About Cast Iron Open Grill Plate For Smart 4 Burner Gas Bbq
More
Latest Posts
Best You Can Still Enjoy A Bbq On A Small Balcony With These ... Prices Near Me in 2023
The Of Dining Room Tables And Chairs For Sale In Australia
About Cast Iron Open Grill Plate For Smart 4 Burner Gas Bbq